Browse Attendance
In Church Windows, you may view, Edit, Delete, or Copy Attendance records using the Browse Attendance dialog box.
To access the Browse Attendance screen:
- From The Initial Portal of Church Windows choose Membership
- Choose Attendance in the Button Bar at the top of the screen
- Choose Browse
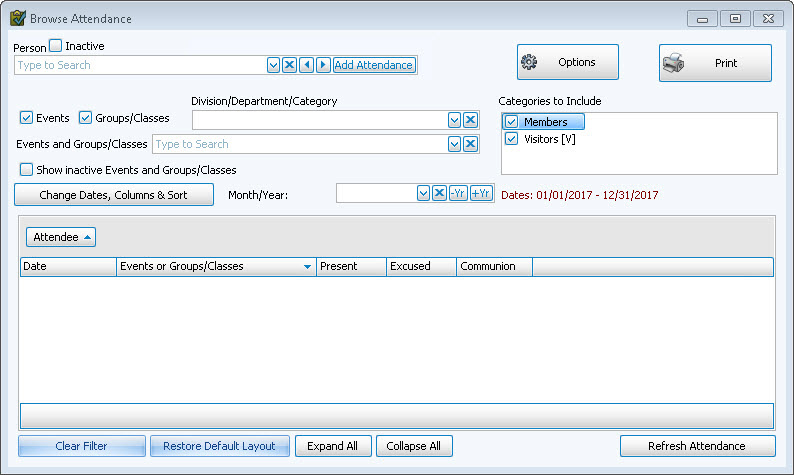
- The Browse Attendance screen will open:
 Change Dates, Columns & Sort
If you would like to specify a custom inter-month date range as well as further customize the view, click on the Change Dates, Columns & Sort button on the left. This will bring up a window to let you pick specific days as well as column, sorting, and font options:
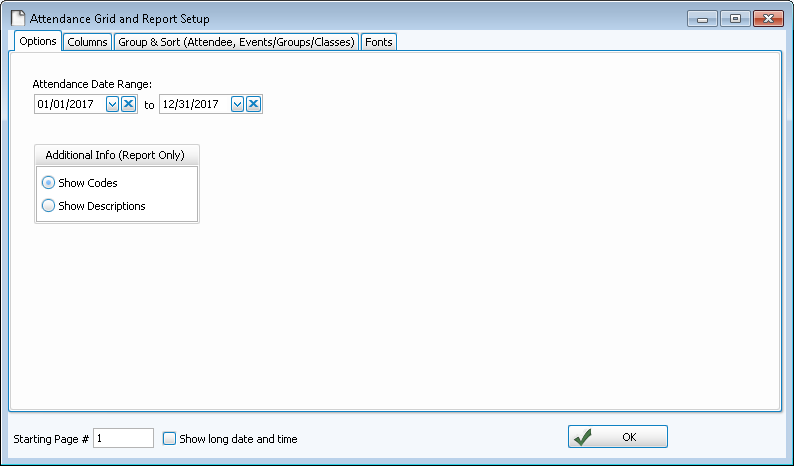
- The Options Tab allows you to enter the date range.
- You can also choose to show Codes for your Additional Information items, or the actual Description. It will default to the Code in order to conserve space.
- Choose any of the following tabs to apply additional settings:
View by Person
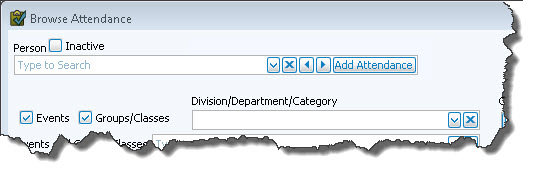
You may limit the screen to only show attendance for a certain Person:
- Click the Person
 dropdown button to see an alphabetized list of everyone in your database.
 - Select a person from the list (leaving the person field blank will include everyone).
- Click the X button to clear the Person field.
- Use the left and right arrows to go lower or higher in the alphabet.
- Clicking the Browse Attendance button from The Individual Record of a specific person will bring up their attendance record automatically.
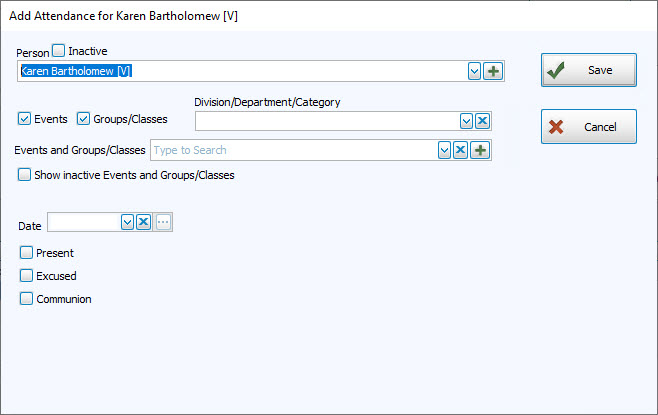
- In order to quickly add an attendance entry for the selected person, click on the Add Attendance button to the right and fill in the fields for the missing Attendance Entry for this individual:
View by Event and/or Group / Class
You may limit the screen to only show attendance for a certain Event or class: 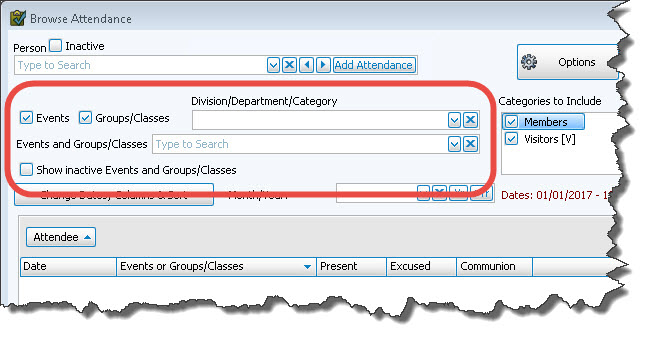
- Check Events and/or Groups / Classes to see only Events or only Groups / Classes, or check both to see them all.
- Use the Divisions, Departments, and Categories dropdown to limit your list if desired, or leave it blank if you either have none defined or just want them all included.
- Click the dropdown in the Events and Groups / Classes field and choose the desired Event or Group / Class.
Note:
The items in any list can be sorted either by the code or the description; the default is code for most fields. When viewing the list of codes and their descriptions, click on the header of the column by which you would like to sort the list (either the code or description) and a small, upward arrow will appear. This will automatically order your list by that column in ascending order. However, click once more and you will see that the column has reordered the list in descending order, with the arrow pointing downwards
  .
The items will revert to being sorted by code when you navigate elsewhere in Church Windows.
.
The items will revert to being sorted by code when you navigate elsewhere in Church Windows. - The selected Event or Group / Class will appear in the grid below, as well as any occasions that each person has attended.
View by Date
The Browse Attendance screen will default to the current calendar year:
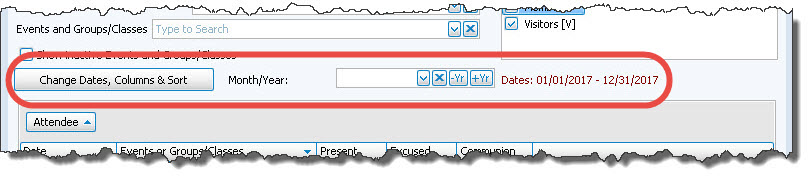
To change the date range, either:
- Click the Change Dates, Columns & Sort button
- Use the dropdown for the Month/Year field to select a specific month
- Use the —Yr and +Yr buttons to quickly toggle back and forth between years
Options
This will open the Attendance Options screen.
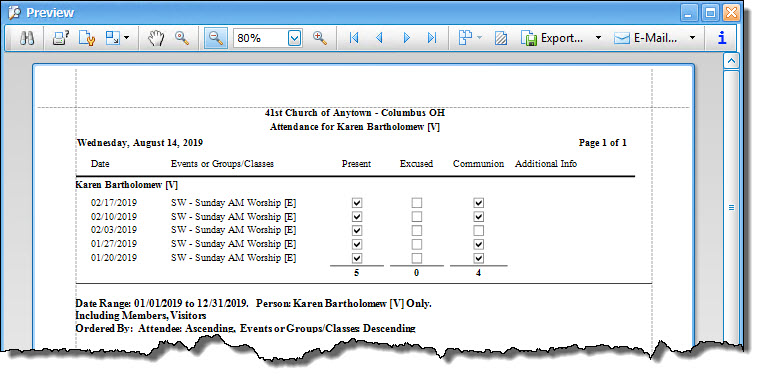
The Print button in the top right allows you to print the attendance records that you're currently viewing: